Create an Access Point Group
An access point group is a group of access points that allows you to configure routing for multiple access points in one operation rather than for each access point individually.
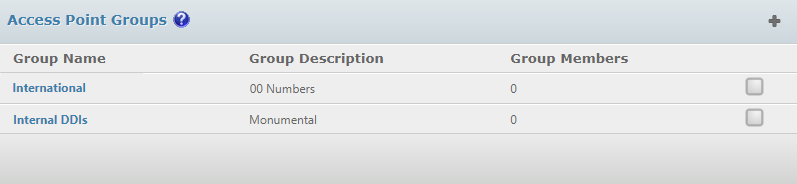
- From the STUDIO main screen, select Inbound > Access Point Groups.

- This displays the Access Point Groups dialog.
- Click the Add + button:
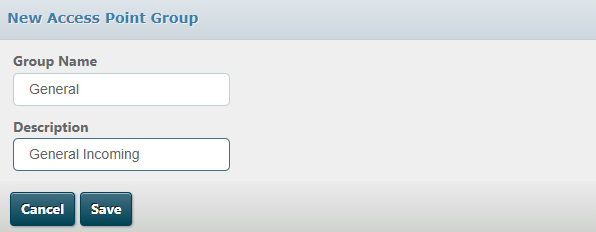
- In the New Access Point Group dialog, enter a group name and description, and then click Save:
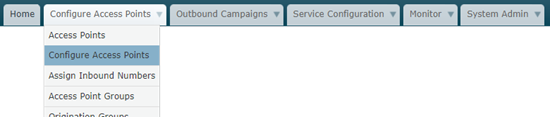
- From the second tab, select Configure Access Points:
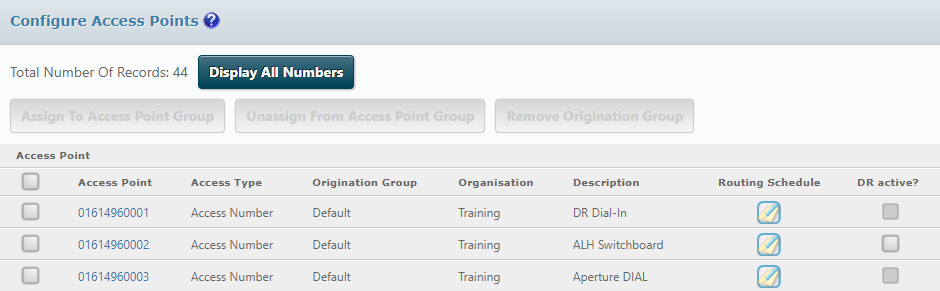
- On the Configure Access Points screen, select the check boxes next to the access points you want to add to the group:

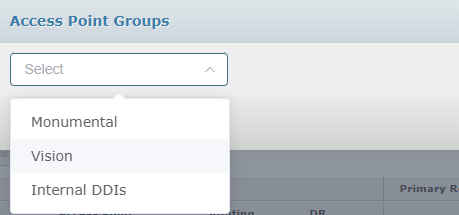
- Click the Assign to Access Point Group button above the list and then select the target access point group:
- Click Save.
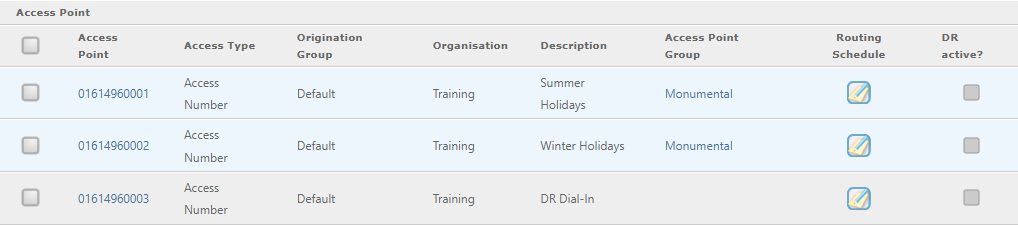
- To see the access point group that an access number is assigned to, click the Display all Numbers hyperlink above the list:
The access point group name is displayed in the Access Point Group column:
Assigning a route plan to a number that is a member of an access point group automatically assigns the route plan to all members in that group.
Note: an access point cannot be a member of multiple groups.
To remove an access point from a group, select the check box next to the access point and then click the Unassign from Access Point Group button above the list.