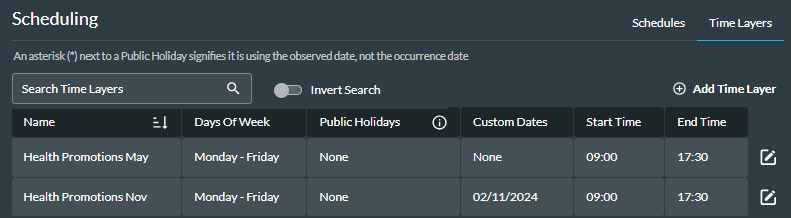
Create a Time Layer
- Navigate to Scheduling > Time Layers.
- Click the
 Add Time Layer button.
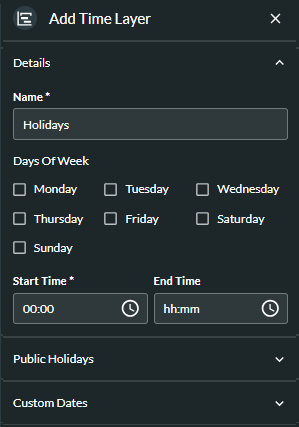
- Enter a meaningful name for the time layer.
- Optionally, select the days of the week the time layer applies to. If you do not add any public holidays (step 6), or custom dates (step 11) you must include at least one day of the week here.
- The start and end times are the times the time layer will become active/inactive respectively. They are applied to the days of the week, public holidays, and custom dates.
Example: if you configure a custom date as 2022-01-05 - 2022-01-10 with a start time of 15:00 and end time of 16:00, it will match within the time range of 15:00 - 16:00 for the date range. If you then select Monday, it will match with every Monday between the hours of 15:00 and 16:00.
Note: if you have a time period spanning more than one day, starting at 18:00 and ending at 14:00 for example, you should create two separate time layers, one starting at 18:00 and ending at midnight (23:59), and the other one starting at 00:00 and ending at 14:00.
Enter the start time, either by typing or using the Clock ![]() button. Optionally, enter the end time. If you do not include an end time, it will default to the end of the day, which is the time up to, but not including, 00:00.
button. Optionally, enter the end time. If you do not include an end time, it will default to the end of the day, which is the time up to, but not including, 00:00.
- To include public holidays, click the Down Arrow
 beside Public Holidays.
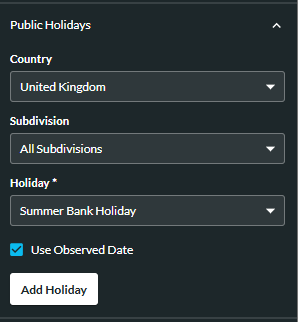
- Select the country, subdivision (or 'All Subdivisions') and the name of the public holiday.
Note: once configured, public holidays are automatically carried over to subsequent years, unless deleted.
- An option to specify an ‘observed’ date is available where a public holiday that falls on a different day each year, for example Christmas Day, falls on a weekend, and an additional day's holiday is given to compensate for this.
Example: if Christmas Day falls on a Sunday and your company closes on Tuesday 27th (the observed date), you should make sure the Use Observed Date check box is checked. To include Christmas day as 25th December, regardless of which day of the week it falls on, clear the check box.
Example: Easter Sunday's observed date is always on a designated Sunday so you do not need to change the default value (checked) of the Use Observed Date field.
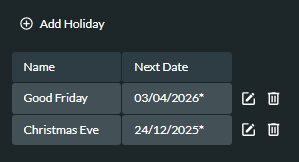
The date selected is the next date the public holiday falls on. A '*' at the end of the date indicates that the observed date is being used.
- To add additional holidays, click the Add Holiday button. To edit a holiday, click the Edit
 button. To delete a holiday, click the Delete
  button.
Note: to update the country and/or subdivision, you must first delete all the existing holidays.
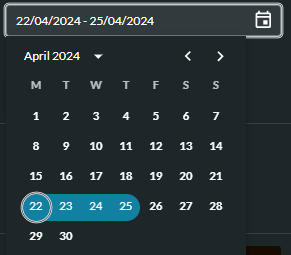
- To add custom dates, click the Down Arrow beside Custom Date and type a date or date range. Alternatively, use the Calendar
 button to select the date or date range.
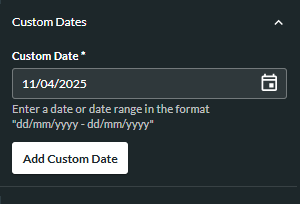
- Click the Add Custom Date button.
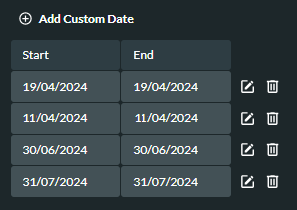
- To add additional custom dates, click the Add Custom Date button and type the date or date range.
- To edit a custom date, click the Edit button next to the date and make the changes. To delete a custom date, click the Delete button.
- To save the time layer, click the Add Time Layer button at the bottom of the window. You associate the time layer with an action when including it in a time schedule.