Handle an Incoming Email
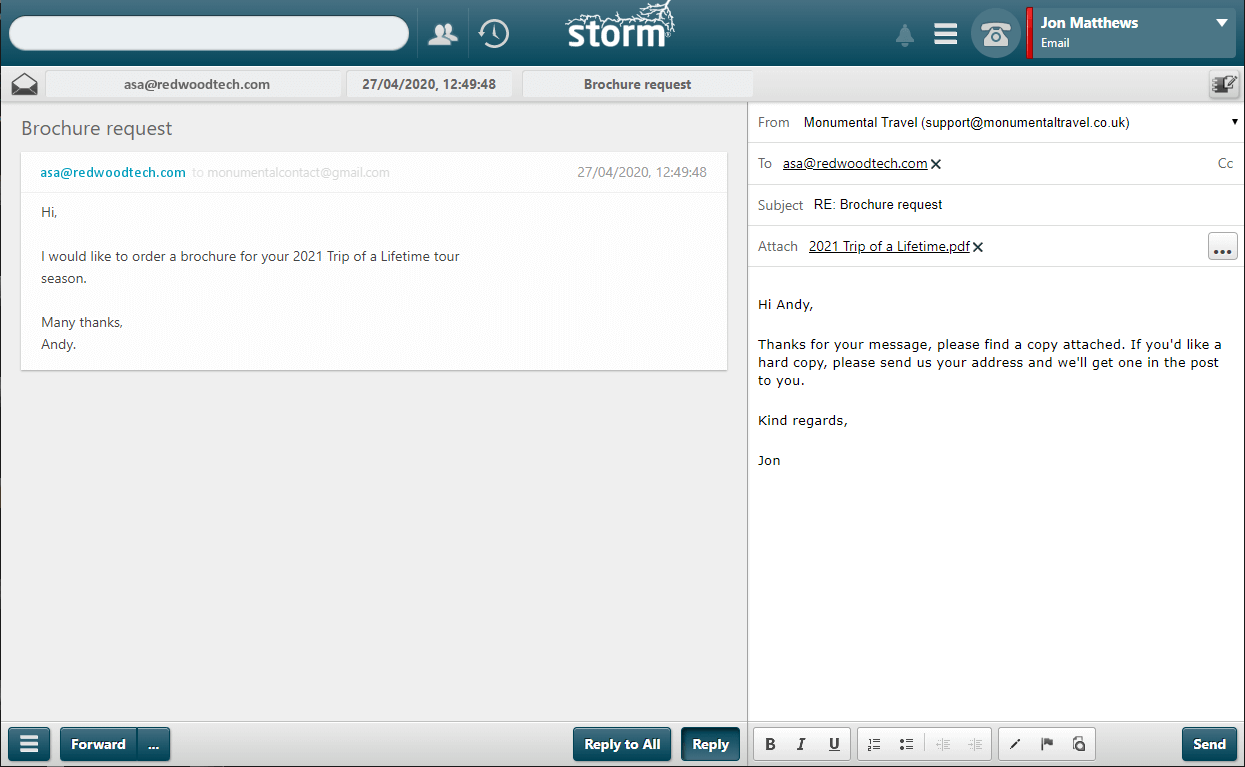
When an email is routed to you or if you open one manually, the message appears on the left side of the screen. Your availability status automatically changes to 'Email setup' and then to 'Email'.
Note: your system may be configured to show additional information below the message, such as the number of attachments, or details about the sender of the email if they are a recognised contact. If there are more than four information fields the list can be minimised/maximised by clicking the ![]()
![]() arrows.
arrows.
Your system administrator can configure the options available to you when responding to an email message.
|
Button |
Use this to |
|
Forward |
Forward the message and any attachments to another destination. If the |
|
Reply to all |
Reply to all email addressees included in the incoming message. |
|
Reply |
Reply to the sender. You can add further recipients by clicking Cc. |
|
Button |
Use this to |
|
|
Delete the message and remove it from the system. |
|
|
Tag the message as an unprocessed message. |
|
|
Complete the conversation without replying to the message. The action is logged in your transaction history and in RECORDER. |
|
|
Tag the message for follow up later. This allows agents in the same agent group as the agent who tagged the message to track email conversations and easily locate them for future reference. |
|
|
Return the message to the front of the queue it was waiting in before being routed to you. |
Note: message attachments must not exceed 35MB; an individual attachment must not exceed 5MB; the number of attachments must not exceed 20; and filenames must not exceed 96 ACSII characters or 24 4-byte characters. Punctuation marks in filenames are replaced with an underscore.
 Ignore